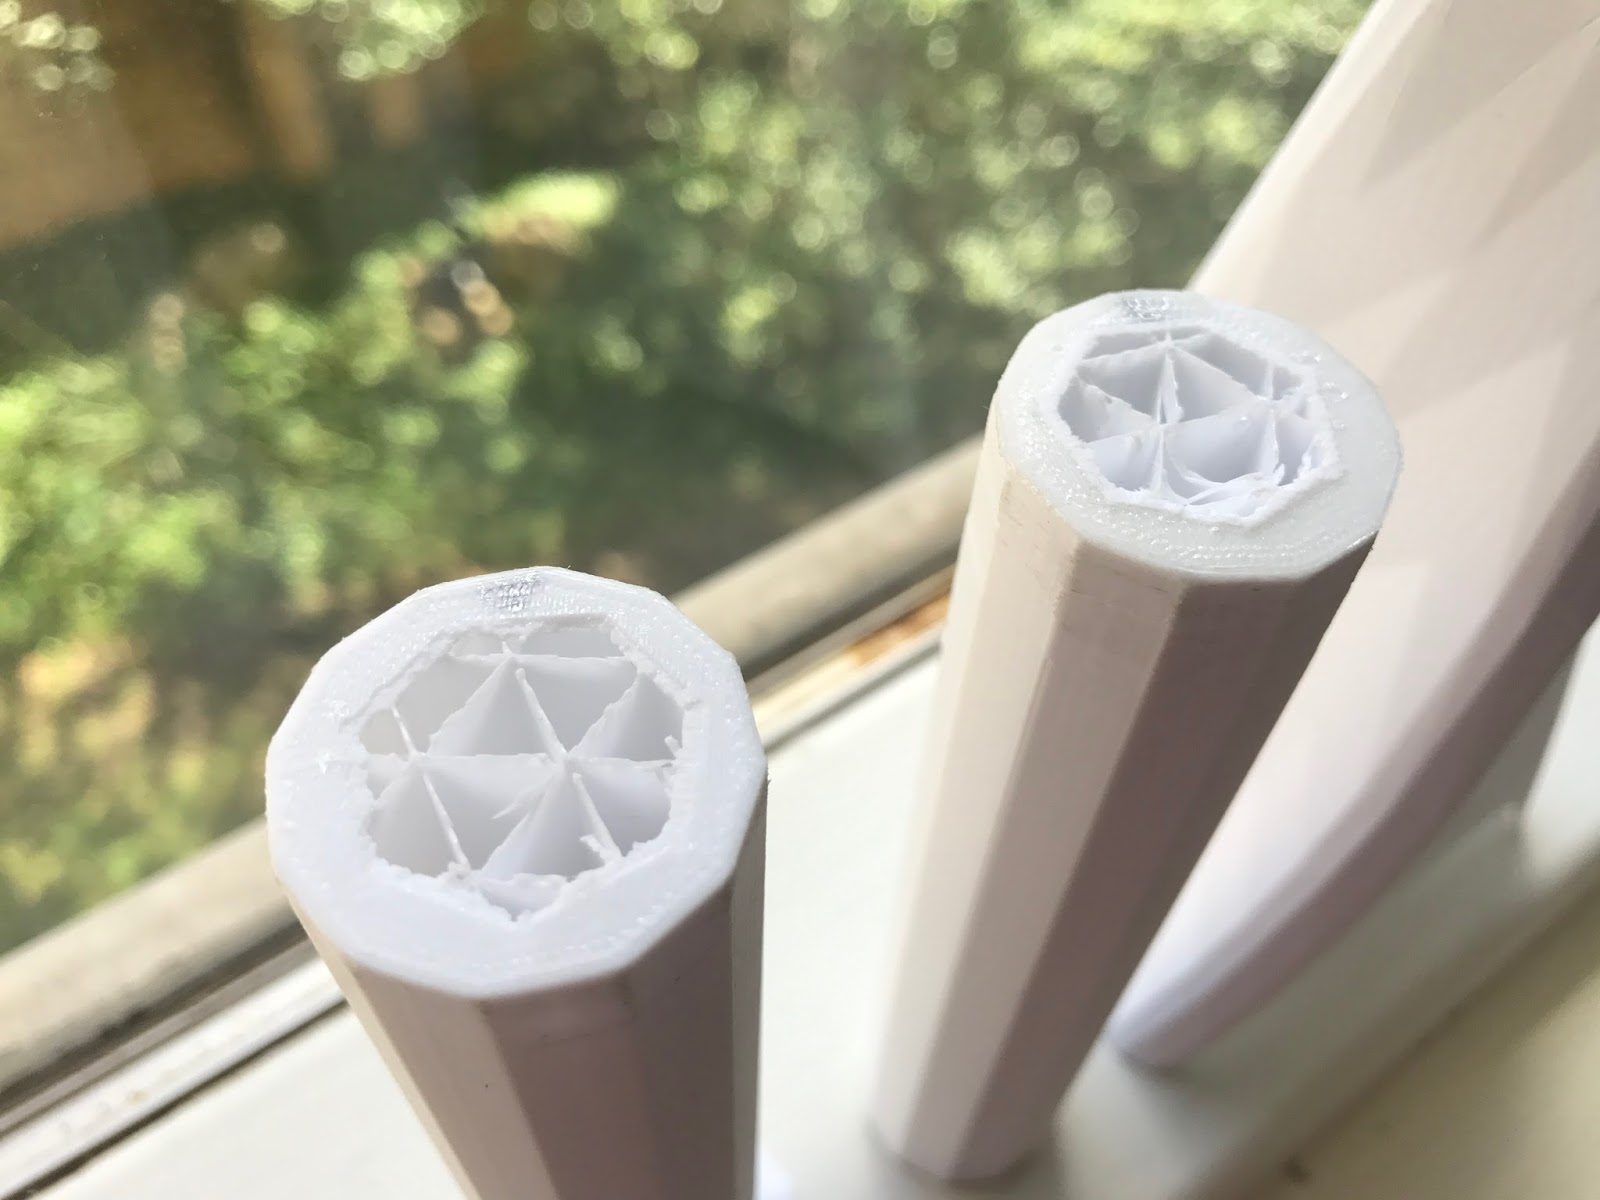

After about a week of use the staff joints broke! I'm not terribly surprised. The 3D printed layers at the meeting point of pegs and staff sections were very thin and waving the staff put a lot of tension on those areas. The print layers at those parts simply separated after a time. For the next print I want to find and use some open source connectors from a site like Thingiverse. Another idea would be to run a threaded metal rod through the entire design, but this would be heavy and possibly interfere with future plans for buttons/wiring.